Property animation is the most common type of animation used in SwiftUI. It involves animating changes to a specific property of a view, such as its position, scale, or opacity. To create a property animation in SwiftUI, you use the animation(_:value:) modifier, which takes an animation object as its parameter.
Single Property Animation
So, if you’re reading this, chances are you’ve already tried your hand at doing a single property animation in SwiftUI. And you probably found it to be fairly easy to pull off, right? If that’s the case, your code probably looked something like this:
struct ContentView: View {
    @State private var scale = 1.0

    var body: some View {
        VStack() {
            Circle()
                .frame(width: 200, height: 200)
                .padding()
                .foregroundColor(.purple)
                .scaleEffect(scale)
                .animation(.easeInOut(duration: 0.5), value: scale)

            Button("Animate") {
                scale = 1.2
            }
            .padding()
        }.padding()
    }
}
So, what’s going on in this code? Essentially, it’s just animating the scale of a circle.
How does it do that, you ask? Well, the animation(_:value:) function on line 11 is observing changes to the scale property on line 2 and applying an easeInOut(duration:) animation on line 12.
And where’s the actual change to the scale property happening, you might wonder? That’s taking place on the Animate button action on line 14. Easy peasy, right?
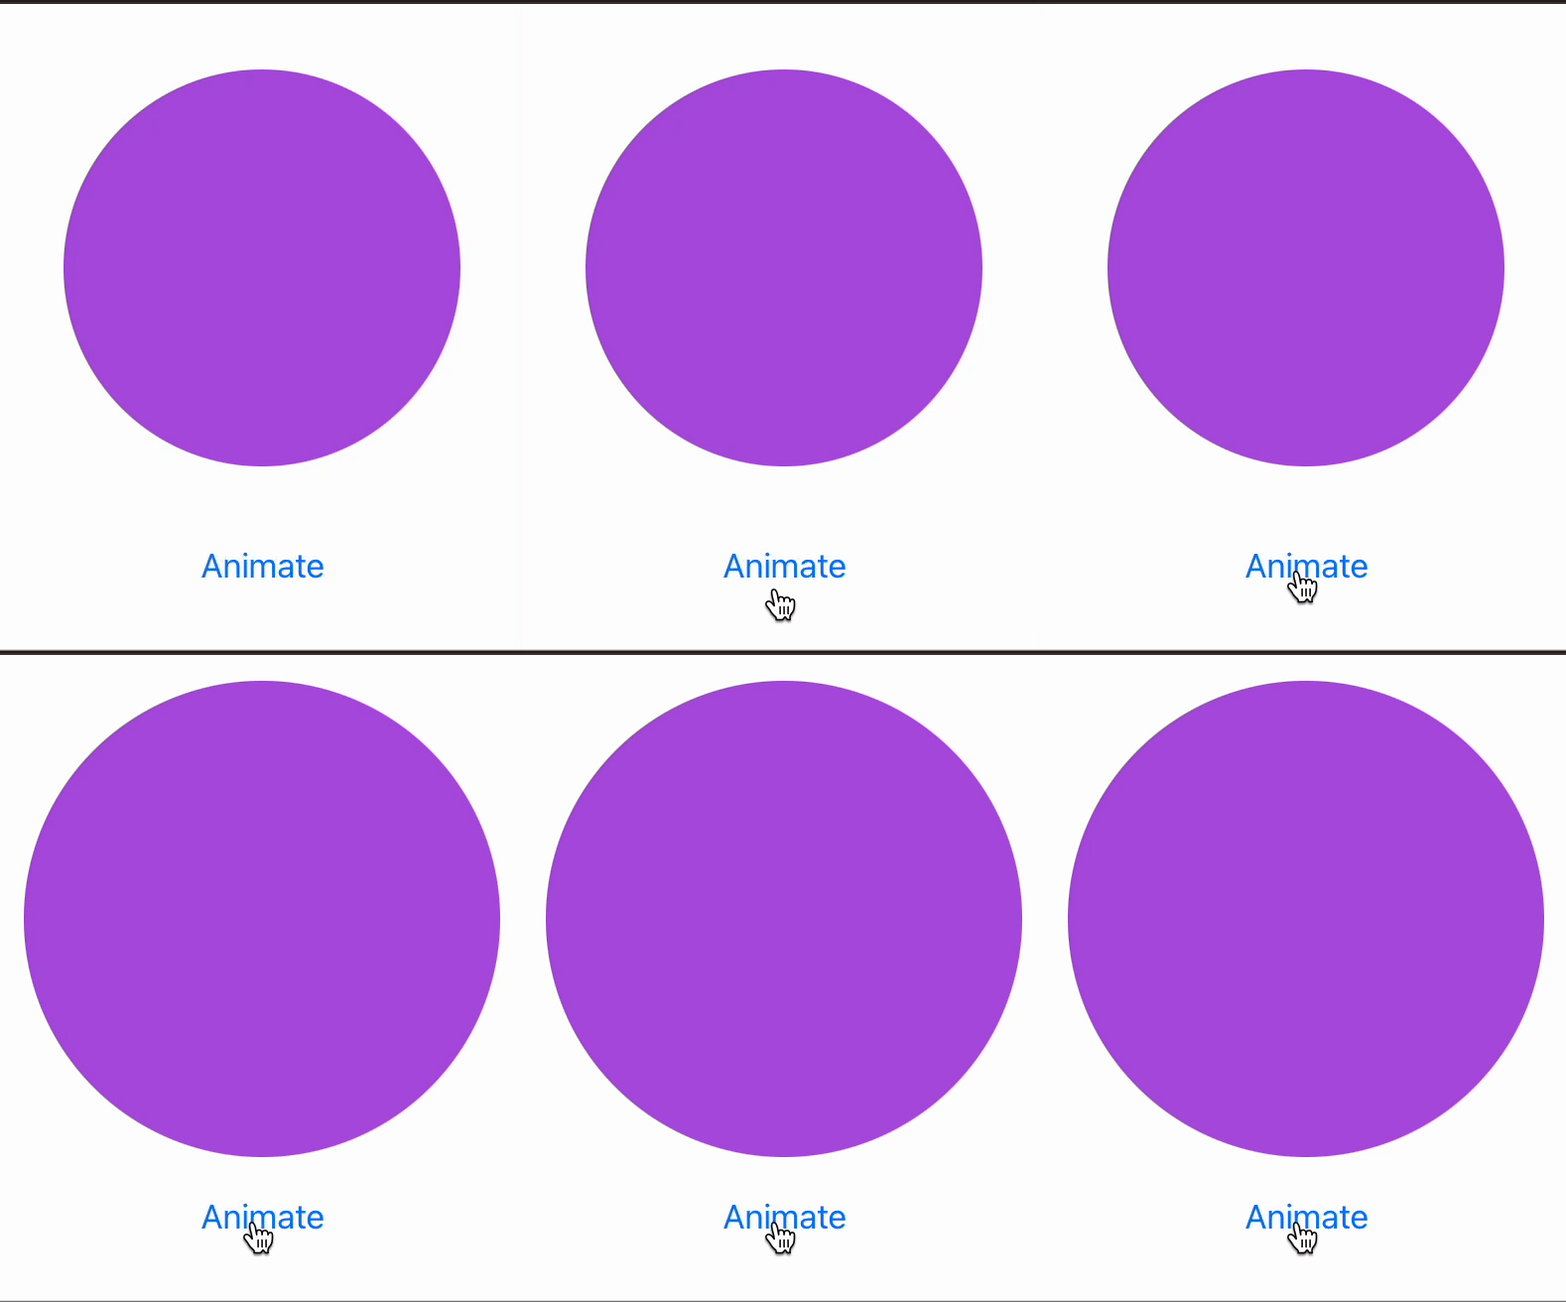
Alright, now let’s see what happens when we run this code, shall we? Here’s the result!

Multi Property Animation
So, you’ve got your single property animation working like a charm, and now you’re itching to animate another property of the same view. Makes sense, right? After all, why stop at just one animation when you can have multiple?
So, let’s say we’ve already got our circle’s scale animation sorted out. What’s the next thing we might want to tackle? How about changing the circle’s color from purple to yellow? Feeling encouraged by our previous success, we might be tempted to modify our code in a similar way…
struct ContentView: View {
    @State private var scale = 1.0
    @State private var circleColor = Color.purple

    var body: some View {
        VStack() {
            Circle()
                .frame(width: 200, height: 200)
                .padding()
                .foregroundColor(circleColor)
                .scaleEffect(scale)
                .animation(.easeInOut(duration: 0.5), value: scale)
                .animation(.easeIn(duration: 3.0), value: circleColor)

            Button("Animate") {
                scale = 1.2
                circleColor = .yellow
            }
            .padding()
        }.padding()
    }
}
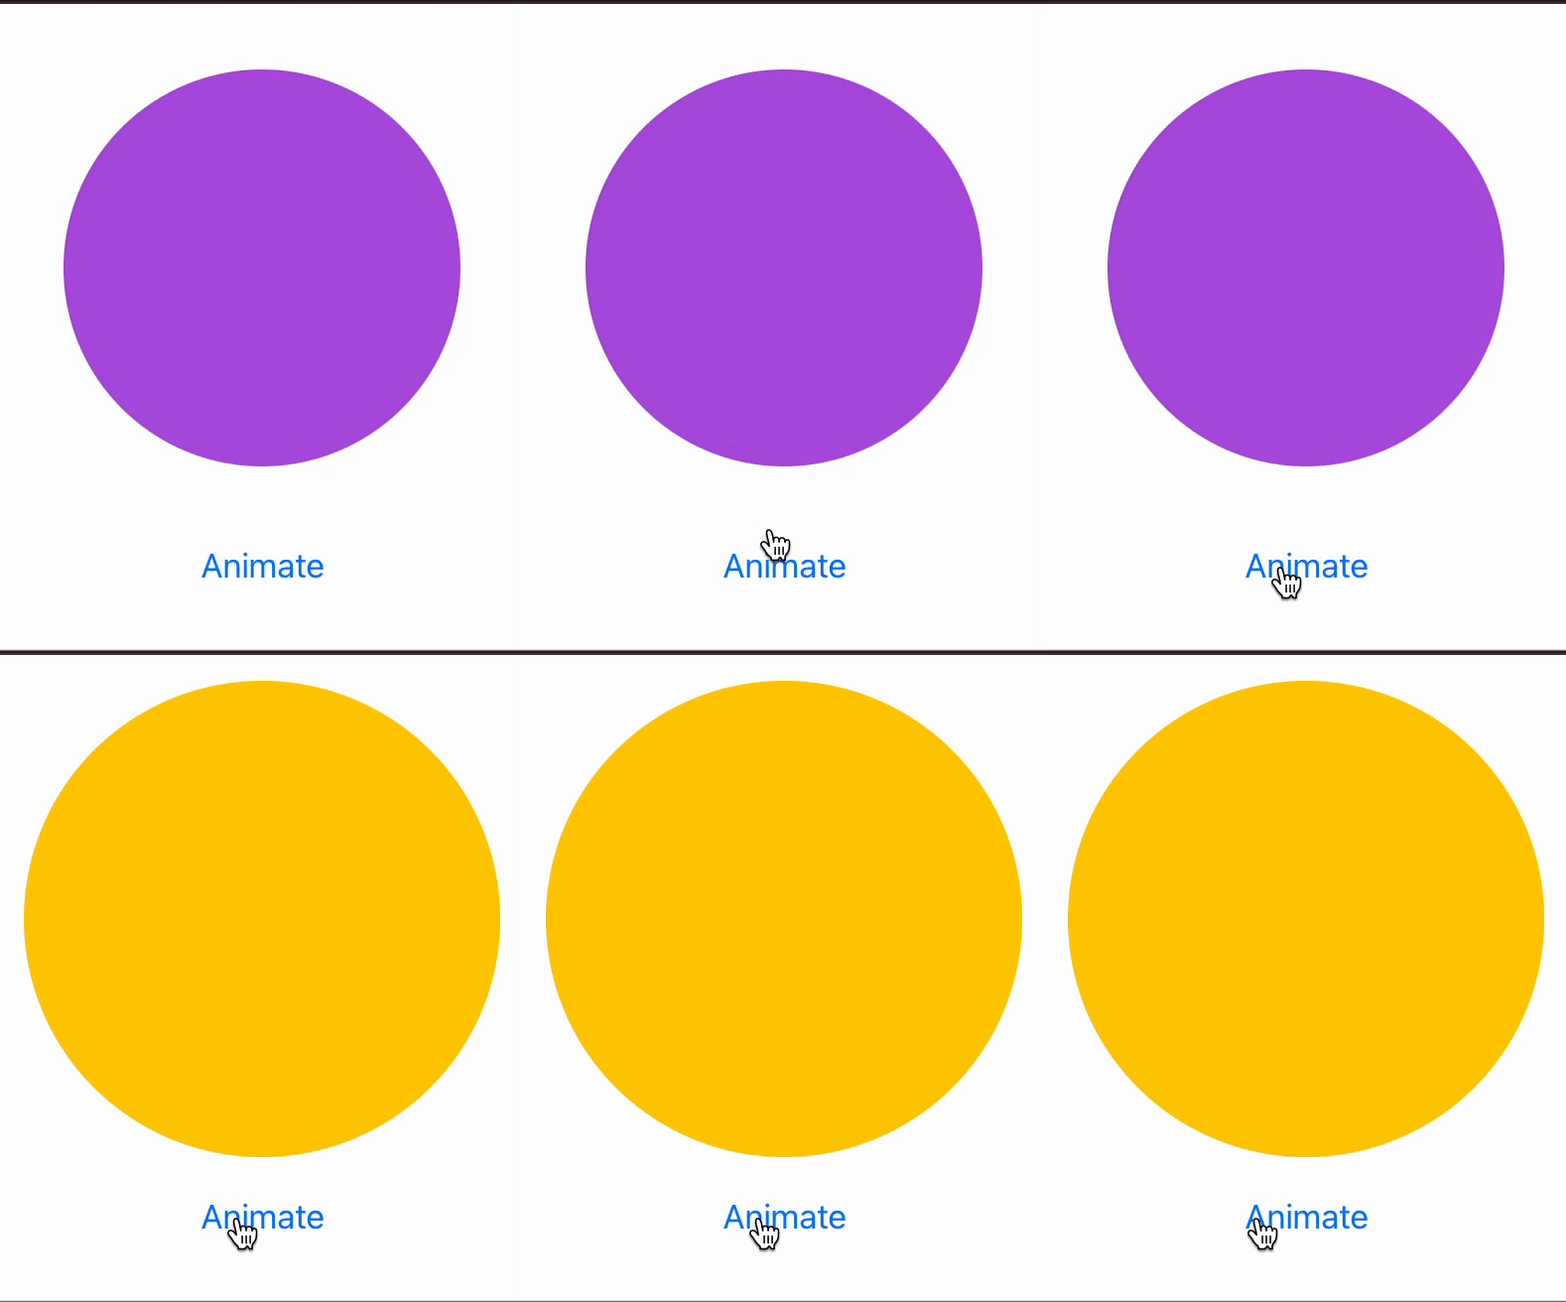
We’ve introduced a new property called circleColor, which we want to observe and animate as well. And how do we make that happen? Simple – we just add some code on line 13 and we end up with this …

However, when we run this new code, we notice that things aren’t working quite as they should be. Sure, the circle’s color is getting animated, but it’s using the animation defined in the scale property animation (both scale and color animations have the same duration which is not what we defined on line 13). And that’s definitely not what we were going for here…
How To Fix This?
Making this code work is very easy! All we need to do is adjust the order of the animations being called. Take a look at the code below:
struct ContentView: View {
    @State private var scale = 1.0
    @State private var circleColor = Color.purple

    var body: some View {
        VStack() {
            Circle()
                .frame(width: 200, height: 200)
                .padding()
                .foregroundColor(circleColor)
                .animation(.easeIn(duration: 3.0), value: circleColor)
                .scaleEffect(scale)
                .animation(.easeInOut(duration: 0.5), value: scale)

            Button("Animate") {
                scale  = 1.2
                circleColor = .yellow
            }
            .padding()
        }.padding()
    }
}
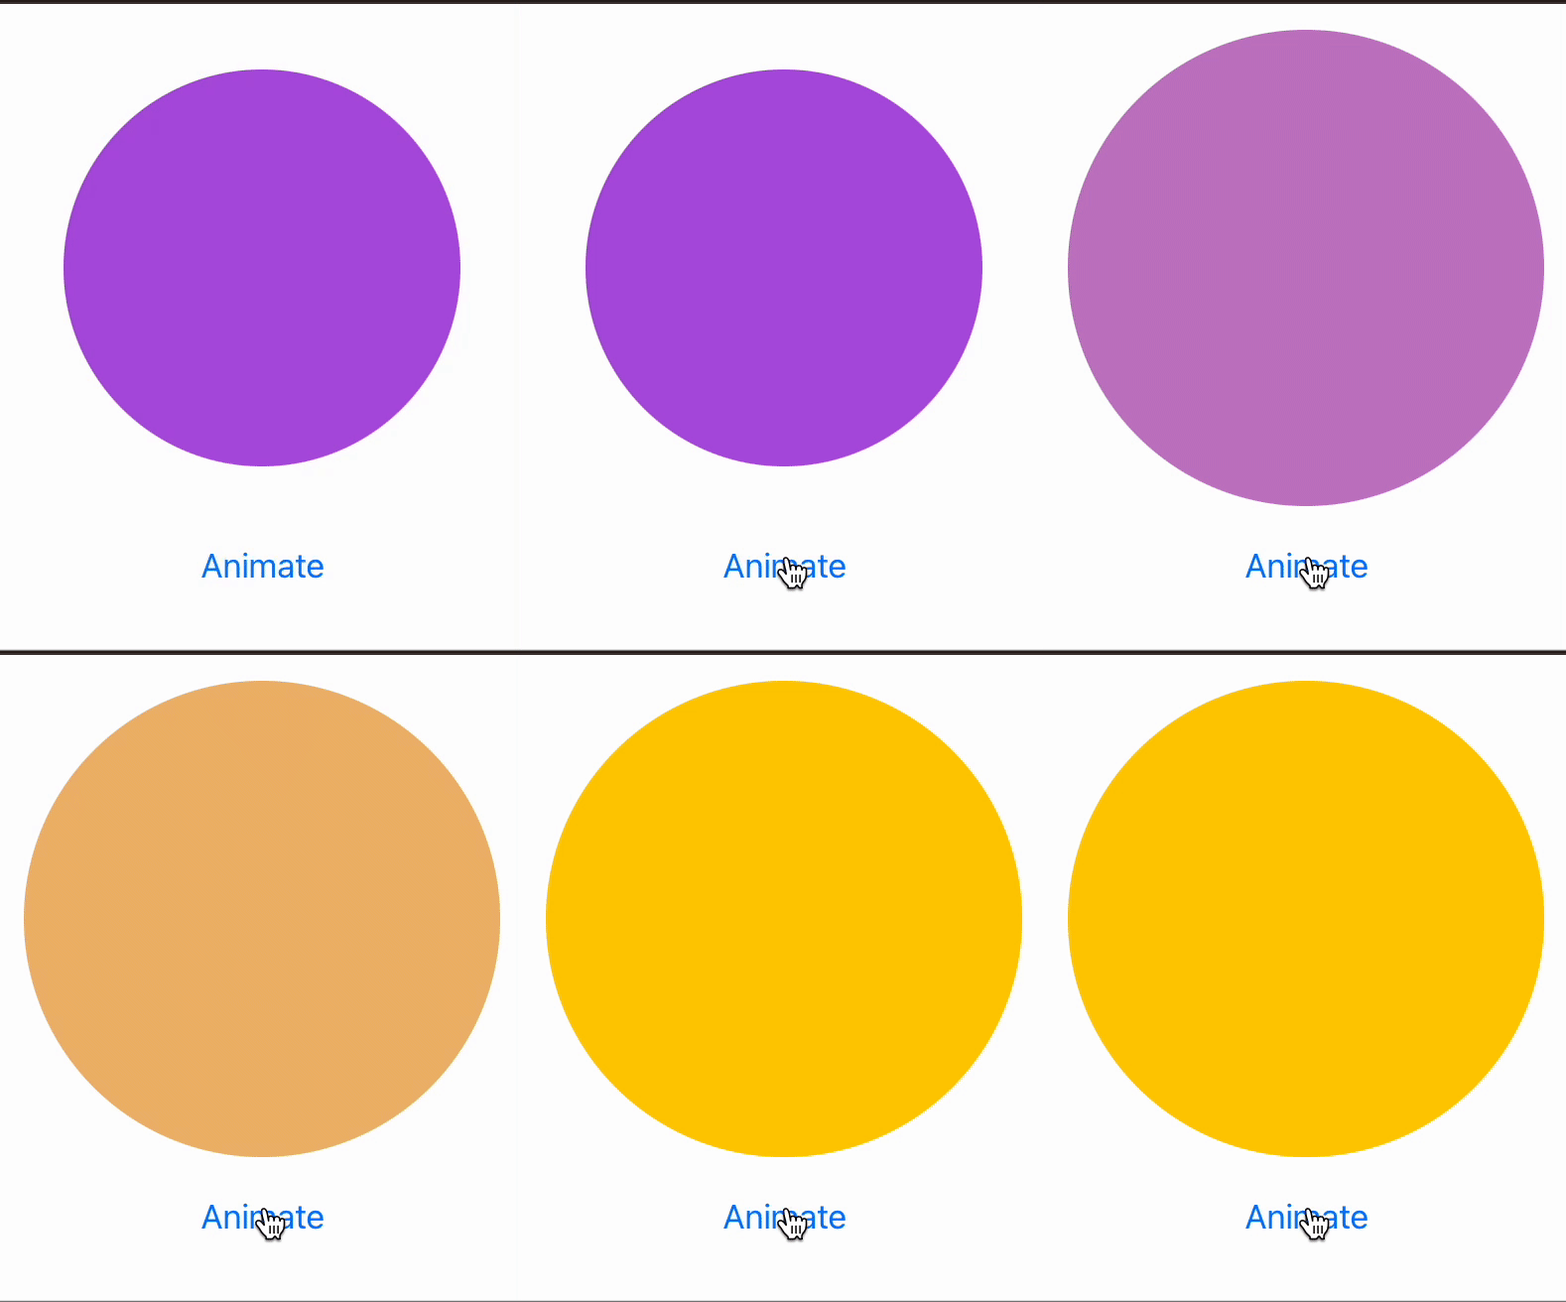
We can achieve the desired final result simply by calling the animation after applying the property (lines 11 and 13). Check it out:


Leave a Reply